

Two-Step Ferment For a Just-Hot-Enough Sauce
Ferment a Mother Batch and Store in the Fridge. Then Brew Everyday Batches Using a Little of the Mother to Control the Heat You Seek.
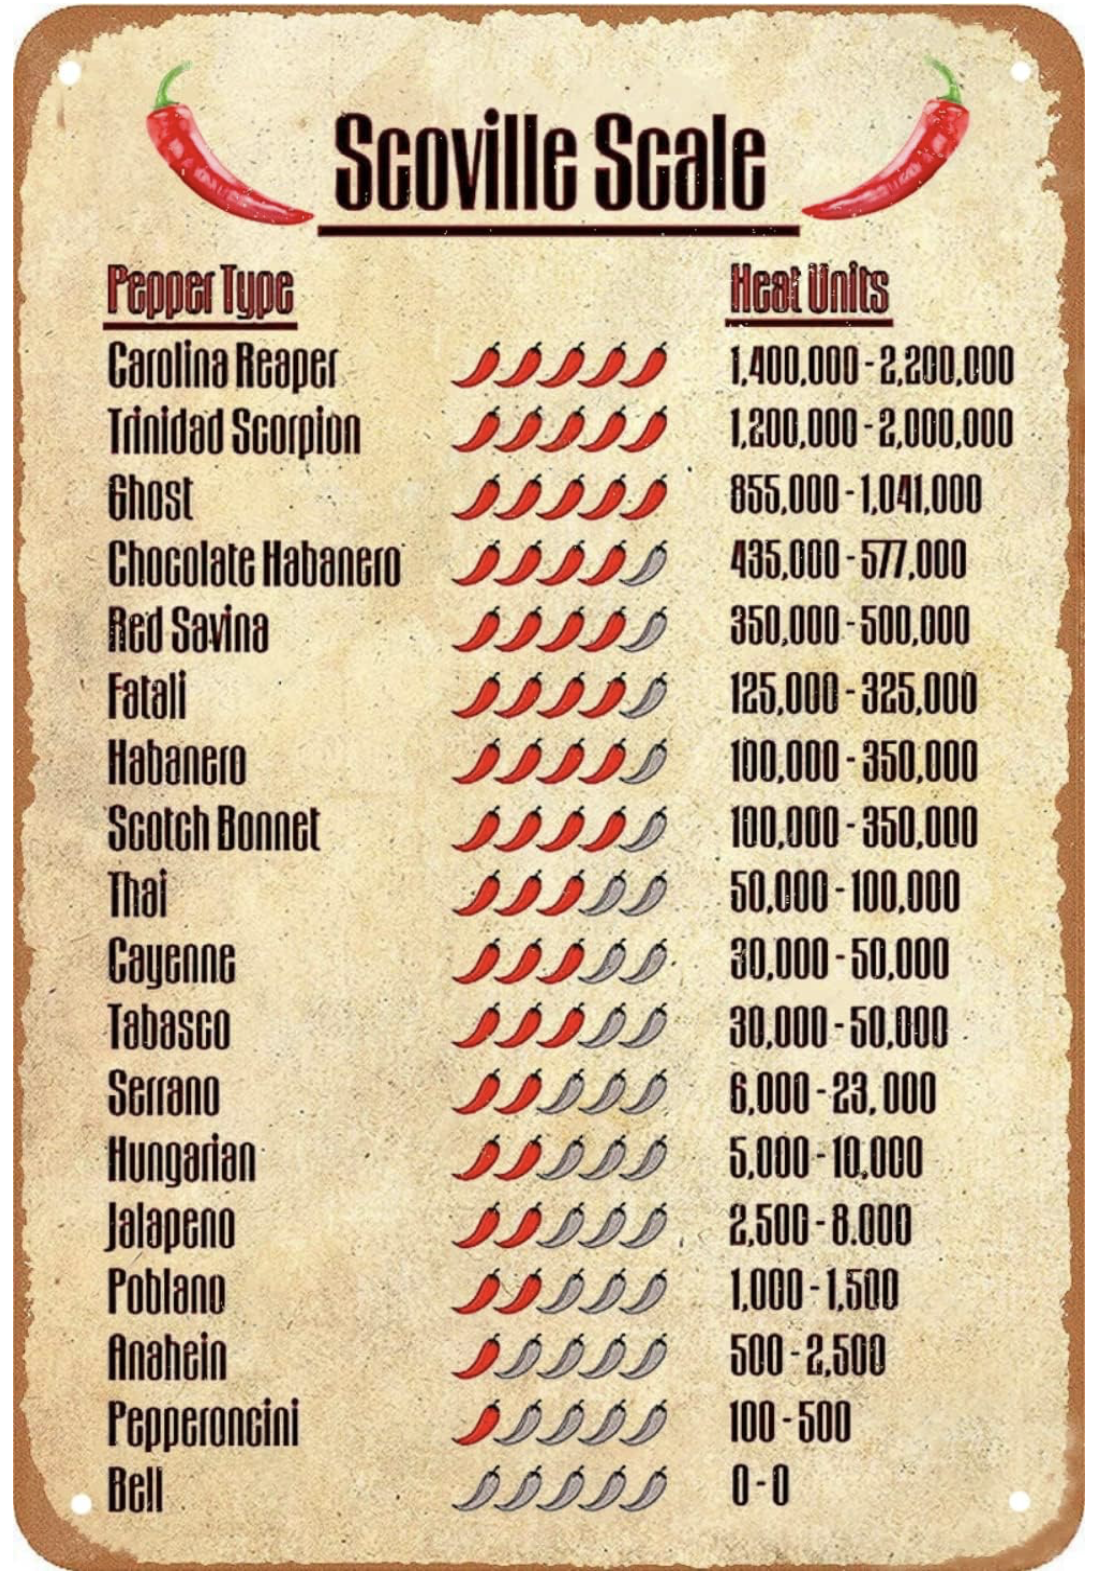
I’ m not the least bit interested in super spicy anything. But I love the smell and flavor of “fruity” hot sauces using—Scotch Bonnets and Habañeros. These colorful chilies are staples in Caribbean cuisine. Add a touch of the bright hot sauce to almost any dish to wake up flavor. These chilies are built to scorch, though.
Over the years I tried to make a mild hot sauce using various amounts of these chilies, but I could never control the resultant super heat. I’ve resolved the problem.
1] Make a mother batch with mostly chilies and store permanently in the fridge.
2] Next, ferment an everyday batch by adding small increments of this batch to any recipe—by the tablespoon— until you get the heat level you desire.
Pepper Power: Peppers can have every kind of heat under the sun. Over the decades I found the habañero and Scotch bonnet varieties offer the best fruity heat. However, their spice level—straight up—is too much for my liking. So let’s solve for flavor and modest heat.

L: With a Mother Batch We can Tame any Pepper R: I visit a Caribbean Supermarket in Orlando
Let’s Make a Mother Batch
Makes 1 Quart
Use mostly chilies and just enough of the remaining produce to make a packed quart. For added smokiness, preheat a heavy skillet and char the chilies and unpeeled garlic. No oil needed, 7-10 minutes
- chilies – about 1 qt, Scotch bonnets or habañeros
- garlic – 1 TBS, sliced
- scallions – 1/2 cup [white part] sliced, [or shallots, or red onion]
- thyme – 1/2 tsp, dried or 4 sprigs fresh
- carrots – 1/2 cup, sliced [or bell pepper]
- BRINE
- sea salt – 1 TBS [18g]
- water – 2 cups, filtered
INSTRUCTIONS: WEAR GLOVES WHILE HANDLING CHILIES!
- Rinse the ingredients
- Wash your fermenter and parts in hot, soapy water
- Halve the chilies [don’t remove the seeds], then thinly slice the remaining produce
- Toss ingredients then add to jar, tamping as you go, until it reaches an inch below the lip [if you run out of ingredients, just add more carrots and/or onions]
- Combine the salt and filtered water to make brine
- Pour brine into jar until almost full. Review your fermenter instructions to complete: ensuring the produce is kept under the brine. [I use my invention, the Perfect Pickler]
- Ferment for 7 days in a conditioned room [temperature at or below 78º]
- Carefully puree the contents including the brine and pour back into the jar, seal with a standard lid, and refrigerate
This is the Mother Batch [and is Ultra Hot]
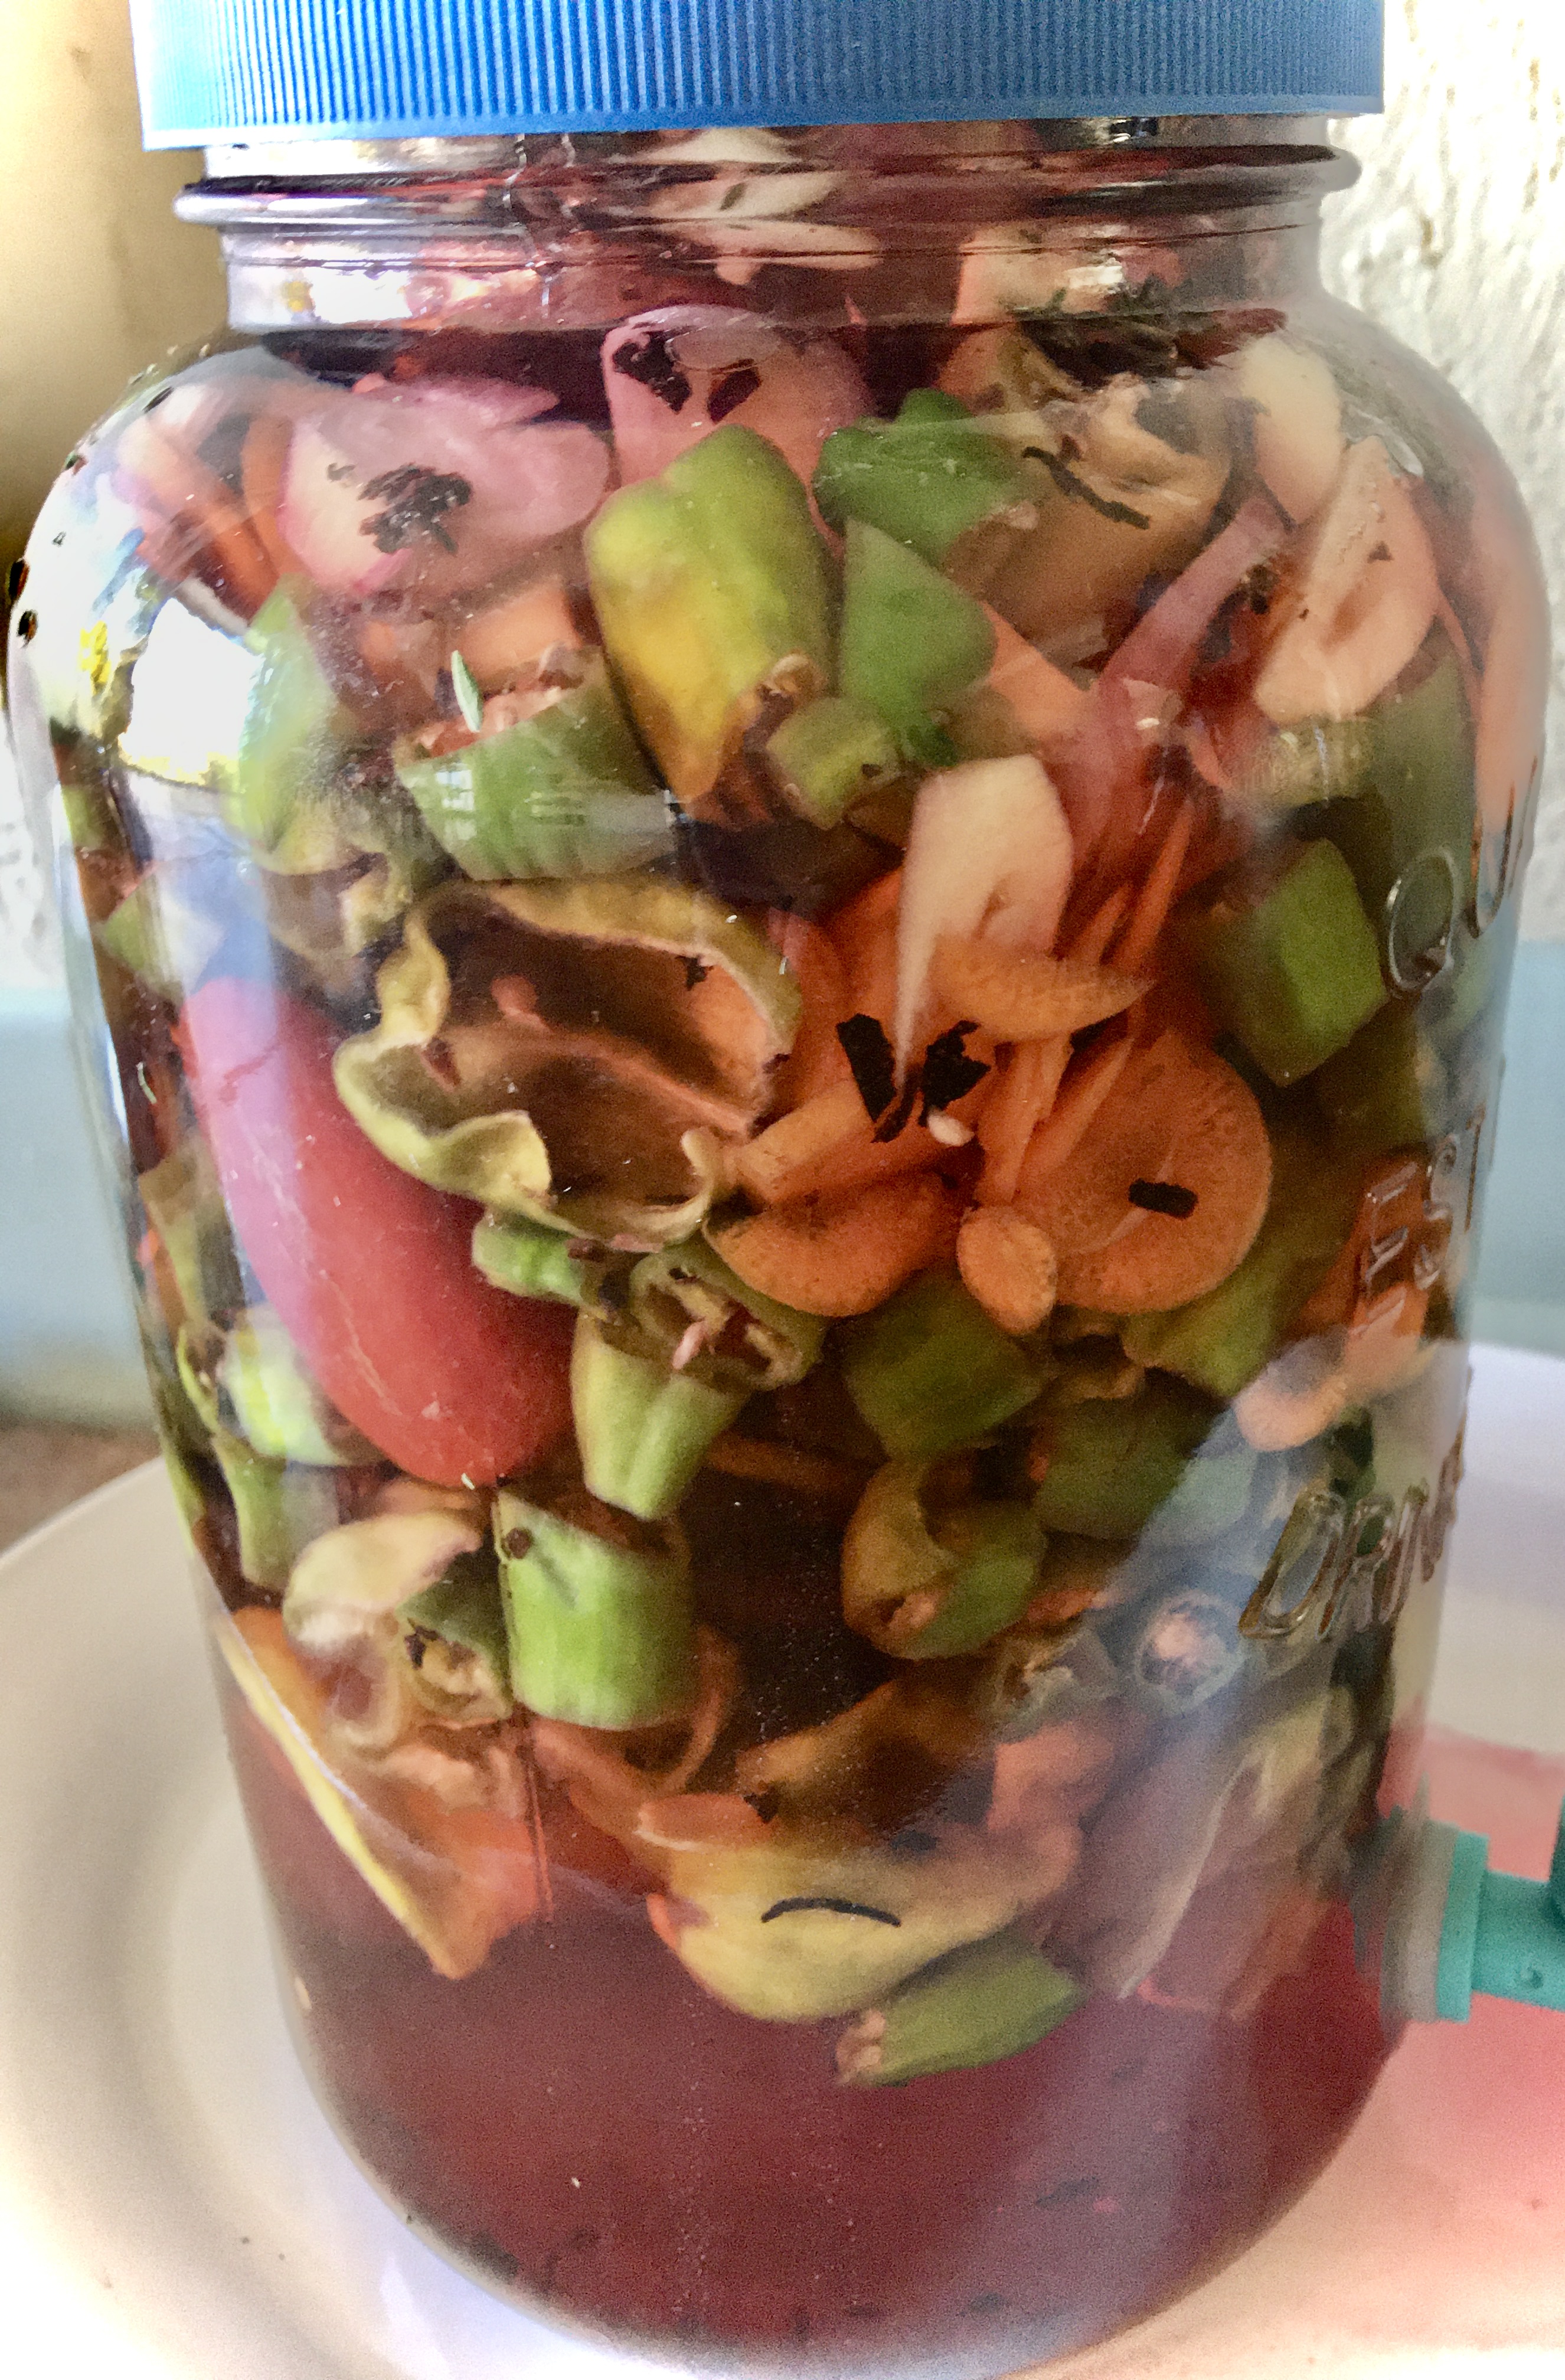
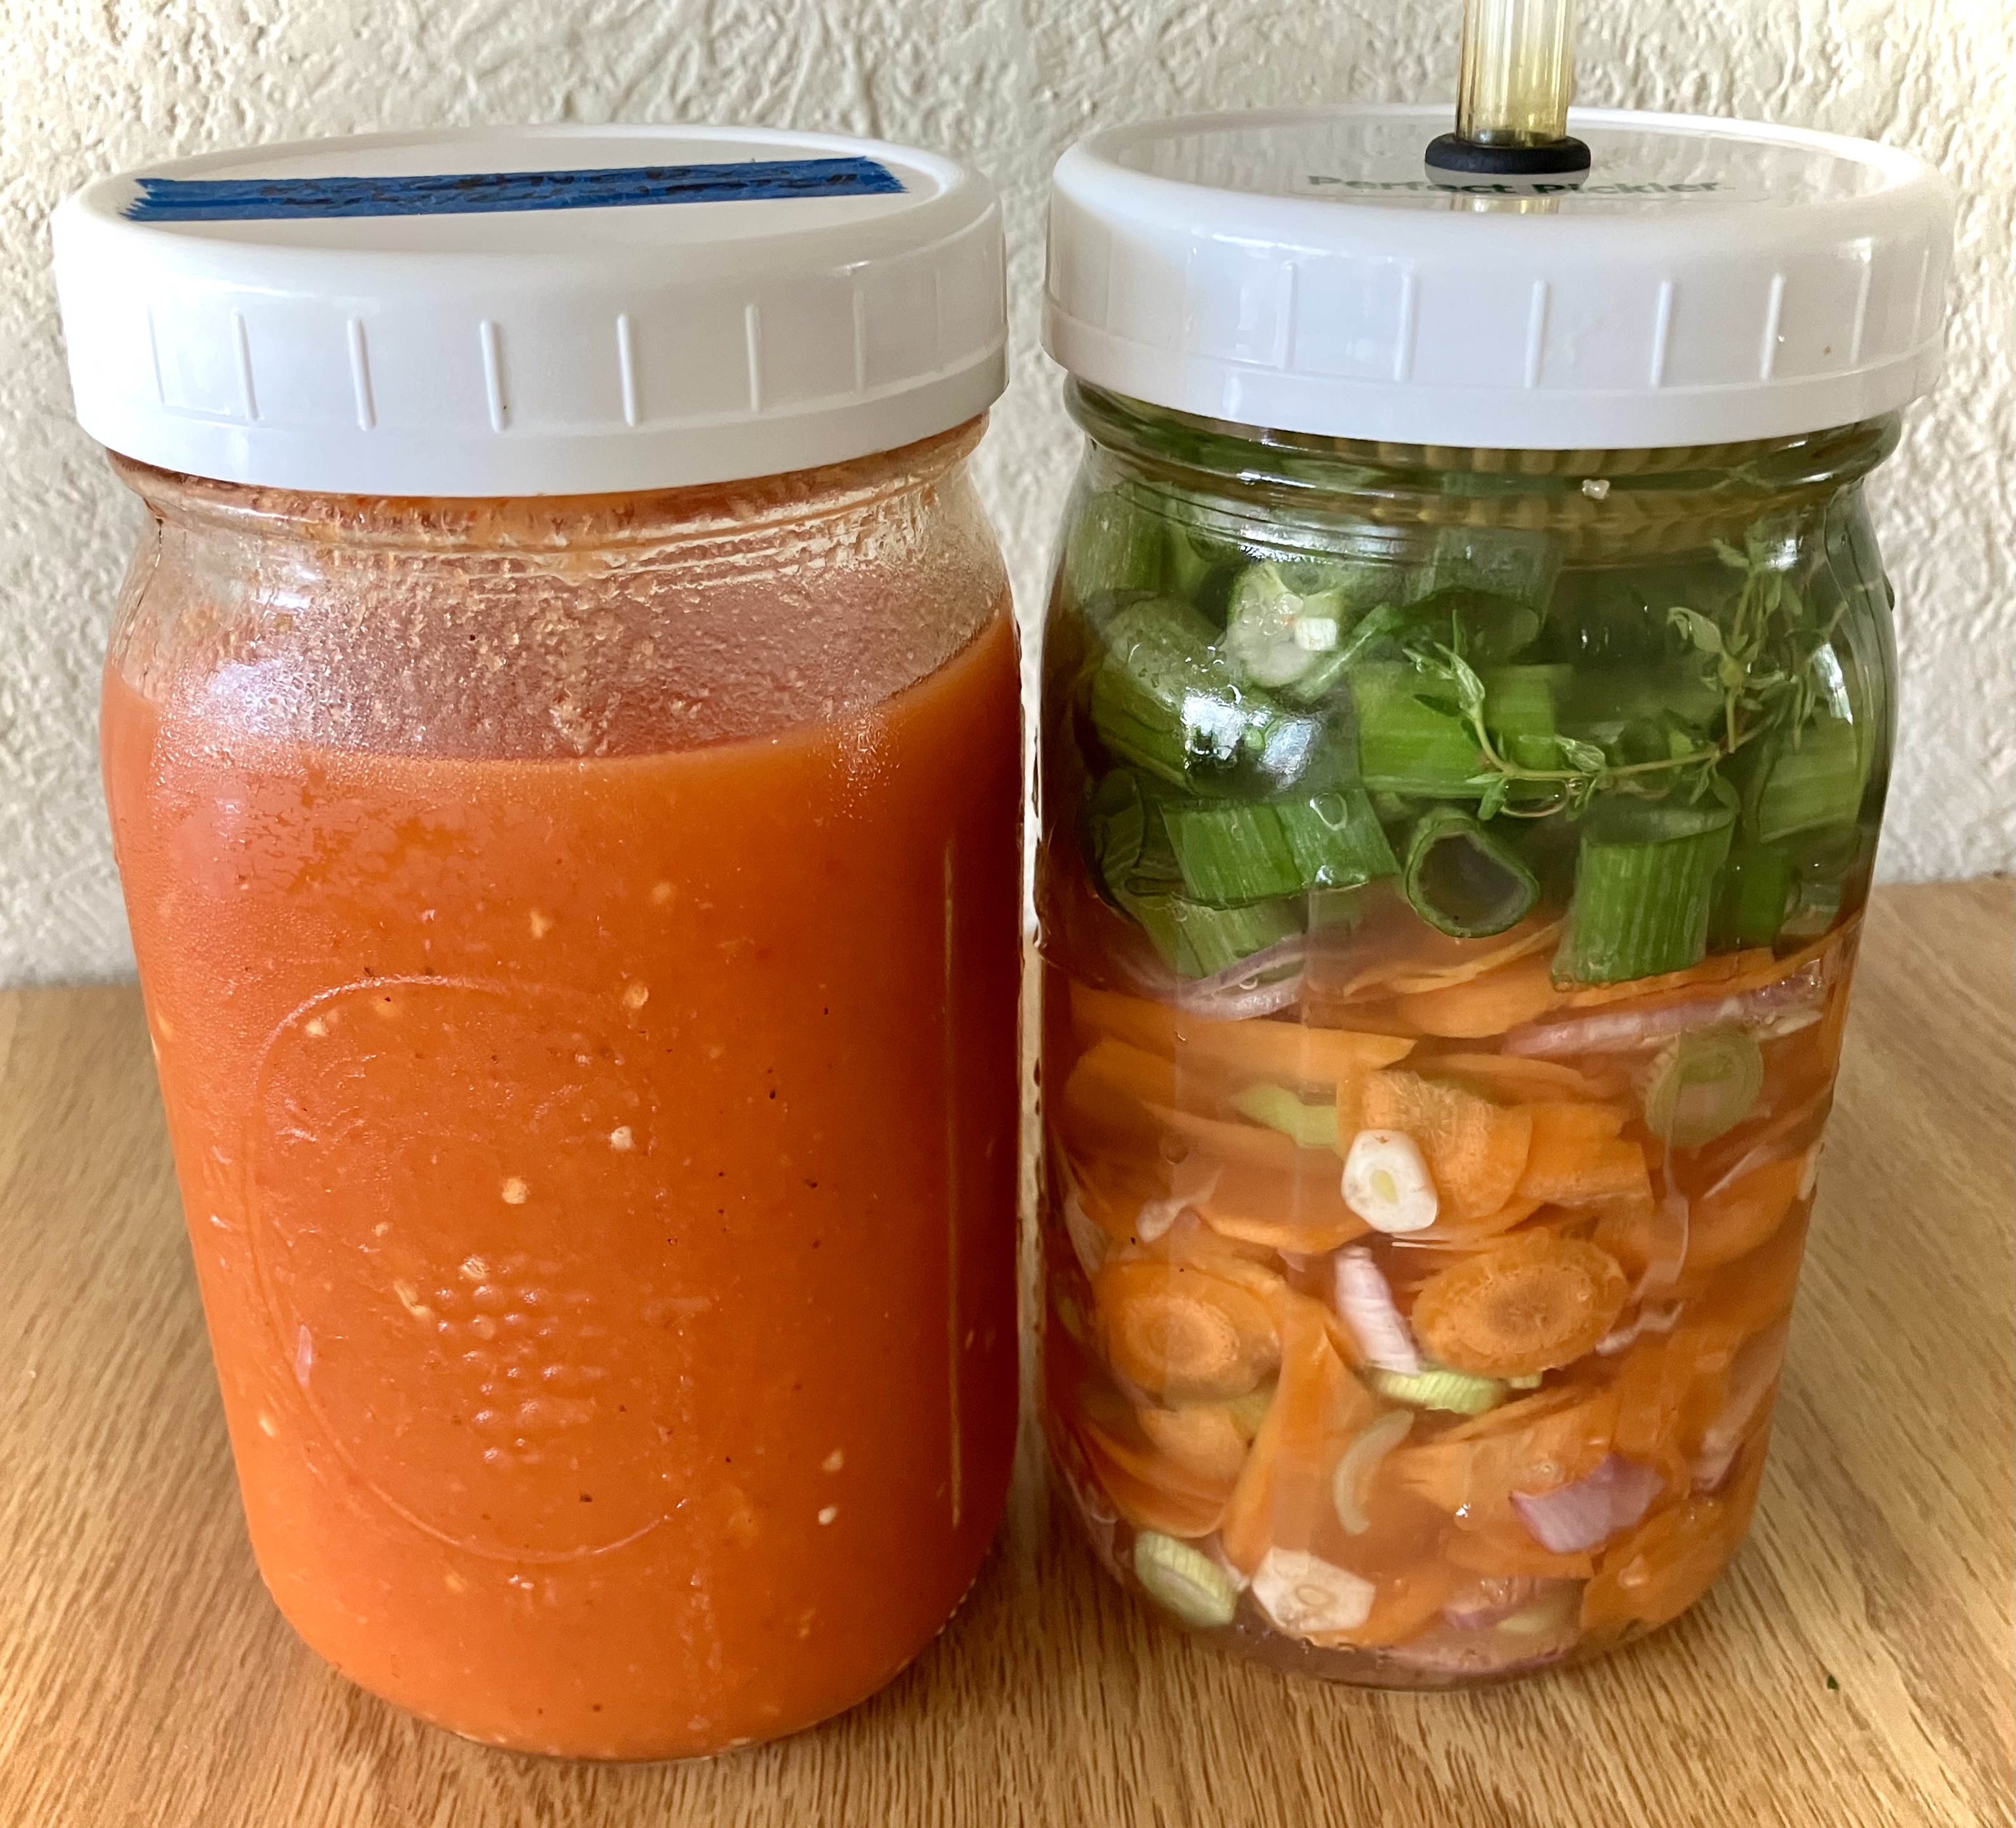
L: Mother Batch During Fermentation R: Mother Batch Finished[left] and Start of Everyday Batch [see photo below]
Everyday Batch

For this batch: Scallions, Shallots, Garlic, Carrots, and Cuban oregano
To make your first and subsequent batches, repeat the instructions above; except eliminate all chilies, and increase the other ingredients to fill and pack a one quart jar, [about 2 LBS total.] Add 1 tablespoon of the Mother. Repeat the instructions and ferment for 7 days.
After Fermentation:
- Strain and reserve the brine
- Place the batch in a blender and add back a little of the reserved brine and puree; continue with more brine if needed to get the consistency you desire
- Taste it for heat—add more of the mother batch if needed by the tablespoon
- Now consider other add-ins: Take time: create 1 TBS samples of your new sauce: use drops of or pinches of add-ons to these samples and decide what makes you excited and proud!
POST FERMENT INGREDIENTS: Your ferment is not done until it tastes good. Add one or more ingredients to tune for your palate.
ADD-INS: If you are planning on codifying your own homemade batch, use measurements and practice on small test amounts. For instance, test a half cup of hot sauce with precise doses of the ingredients below. Stir and taste, write down the winners and then add it to your master recipe.
- Worcestershire
- fish sauce
- oyster sauce
- liquid smoke
- tomato paste
- smoked paprika
- cardamom
- citrus zest
- pineapple juice

- raw vinegar – 1/4 cup, any type you choose [red wine, apple cider, distilled white]
- sugar – 1 tsp, [optional]
- sea salt – 1 tsp
- xanthan gum – 1/4 tsp, [optional] used to thicken sauce

STORAGE OPTIONS
You can also store everyday hot sauce in the fridge. If you want a shelf stable sauce, add a 1/4 cup vinegar and 1 tsp sea salt to the fermented everyday batch—SEE BELOW [I use rice or white wine vinegar]. This lowers the pH to reduce mold creation. If by chance you see mold, skim off and add additional vinegar.
If you also want a slightly thickened hot sauce that doesn’t need to be shaken before pouring, add xanthan gum [find in supermarkets]. For me I usually just puree and pour into a long necked spare bottle and shake it when ready to pour.
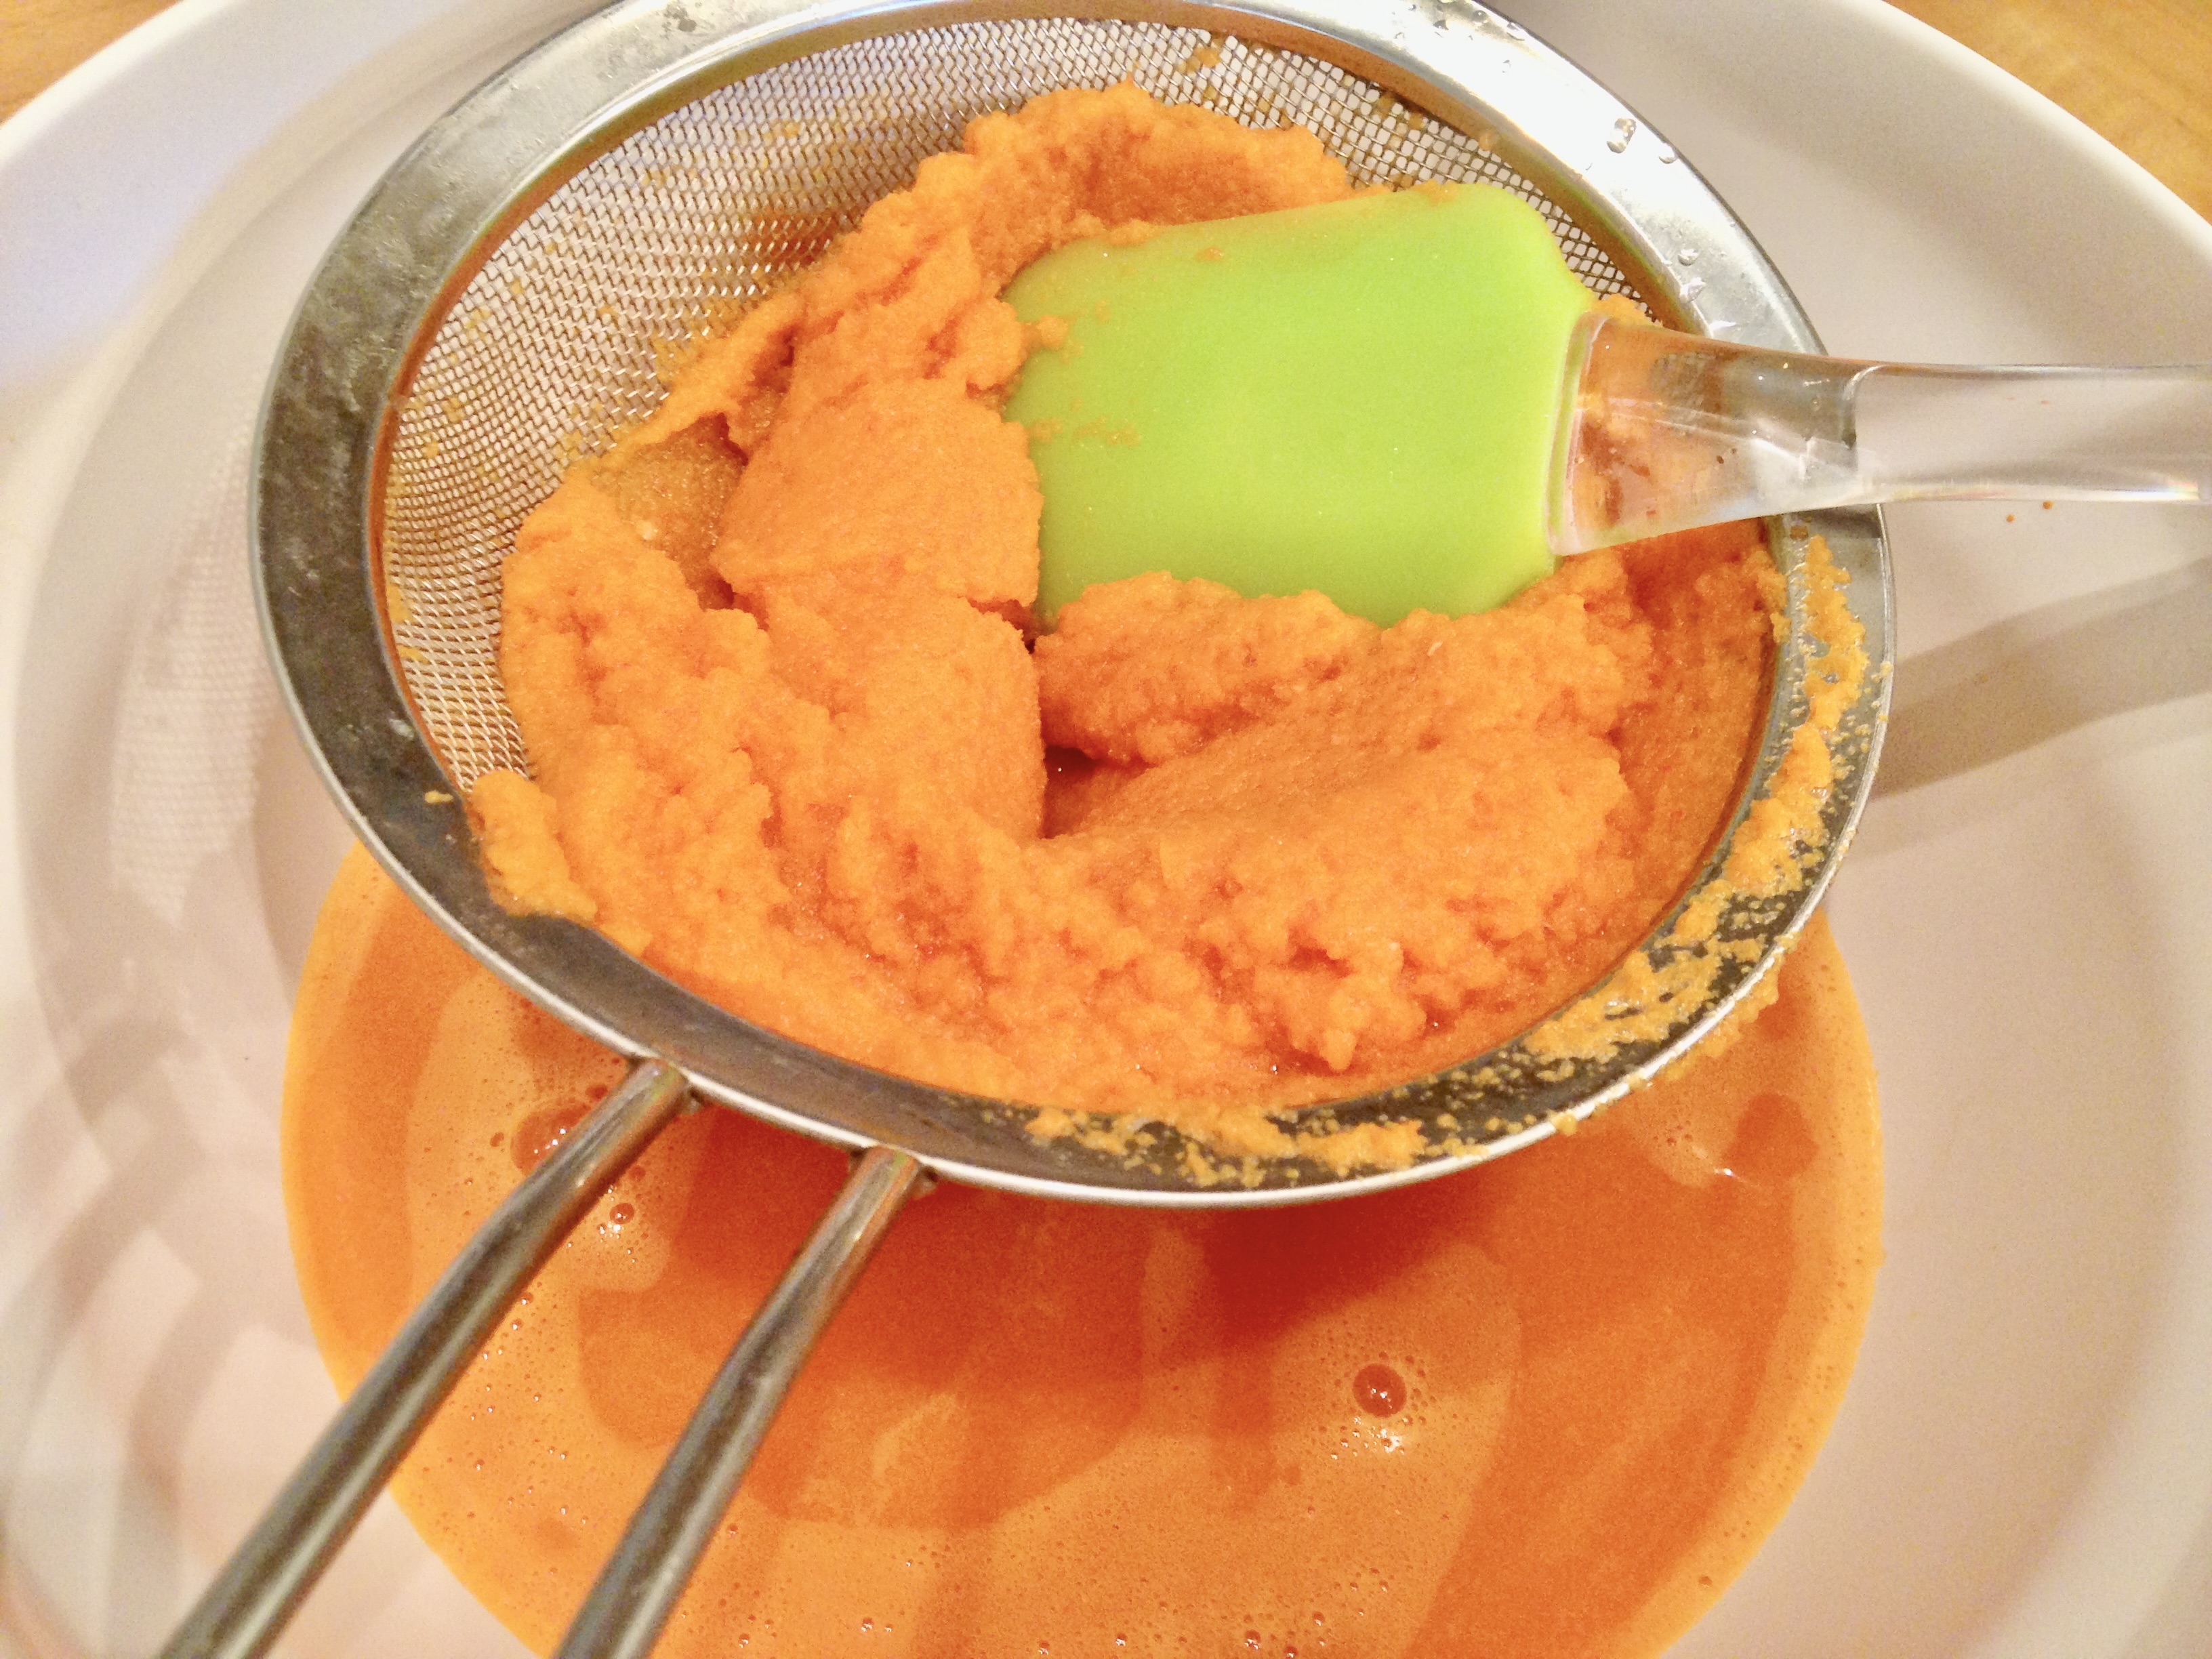
OPTIONAL STYLE: If you want super fine results, pour the pureed sauce through a fine sieve and press out the liquid into a bowl; then compost the pulp; bottle the rest
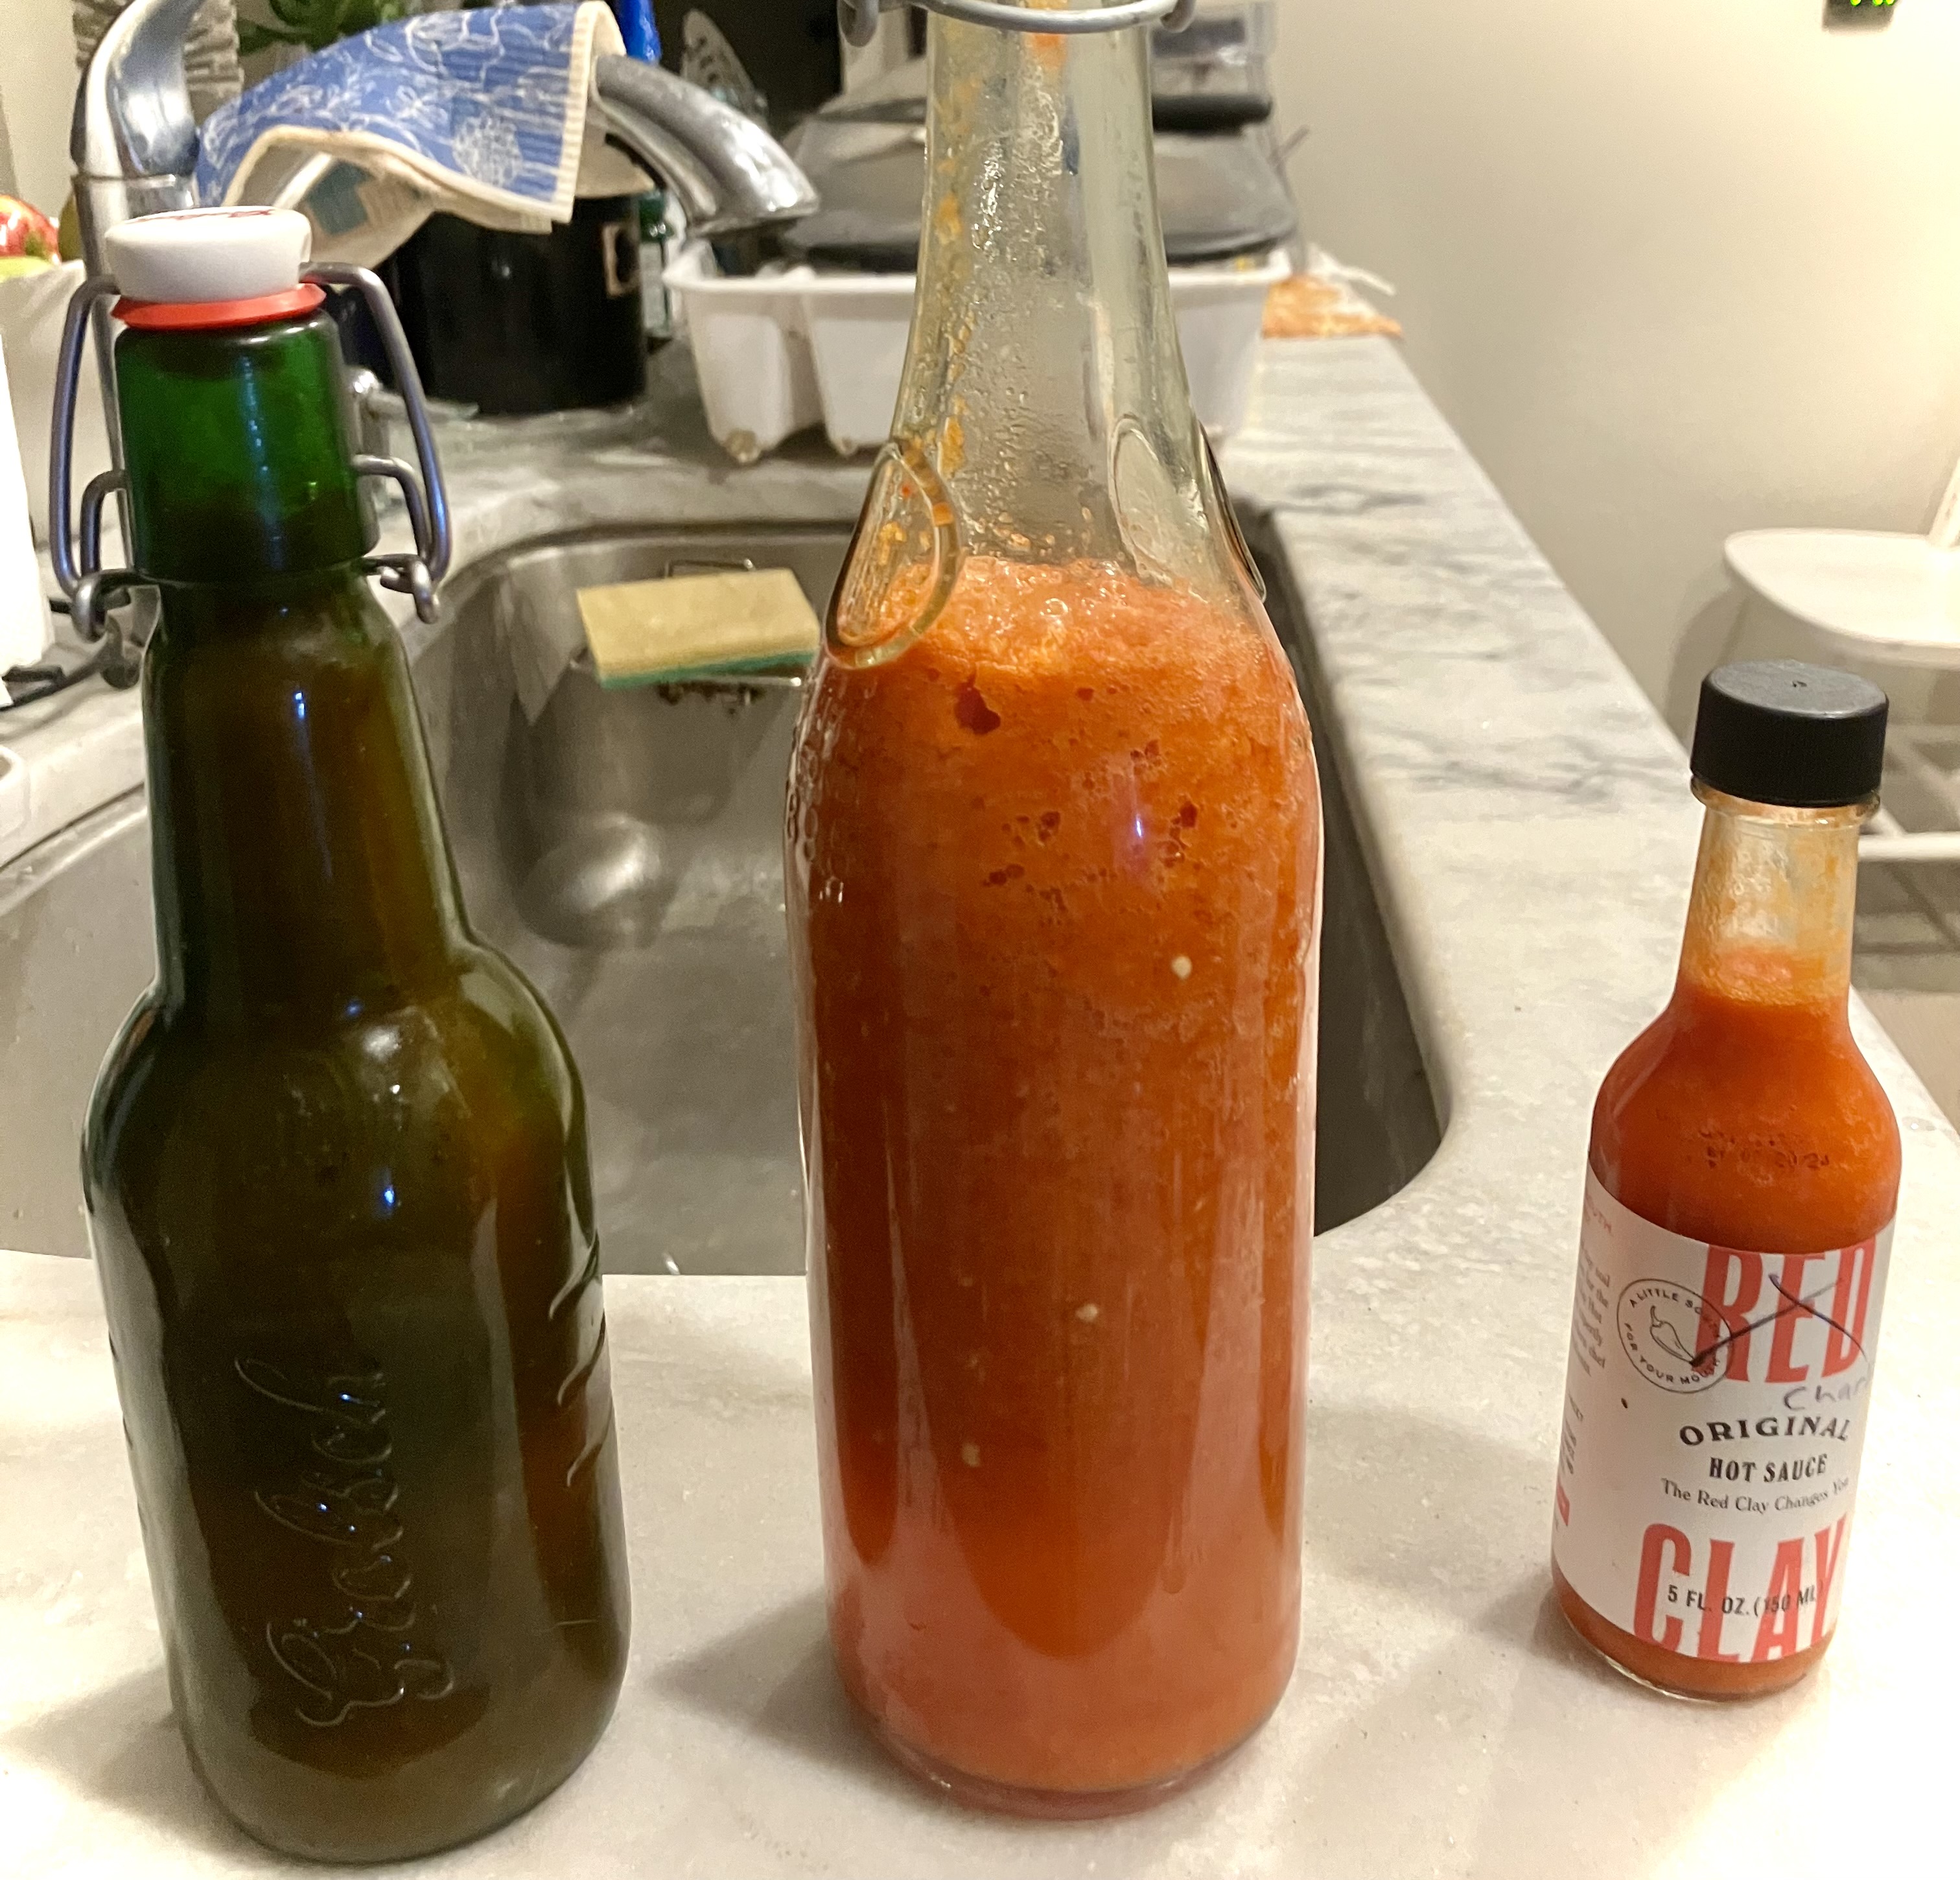
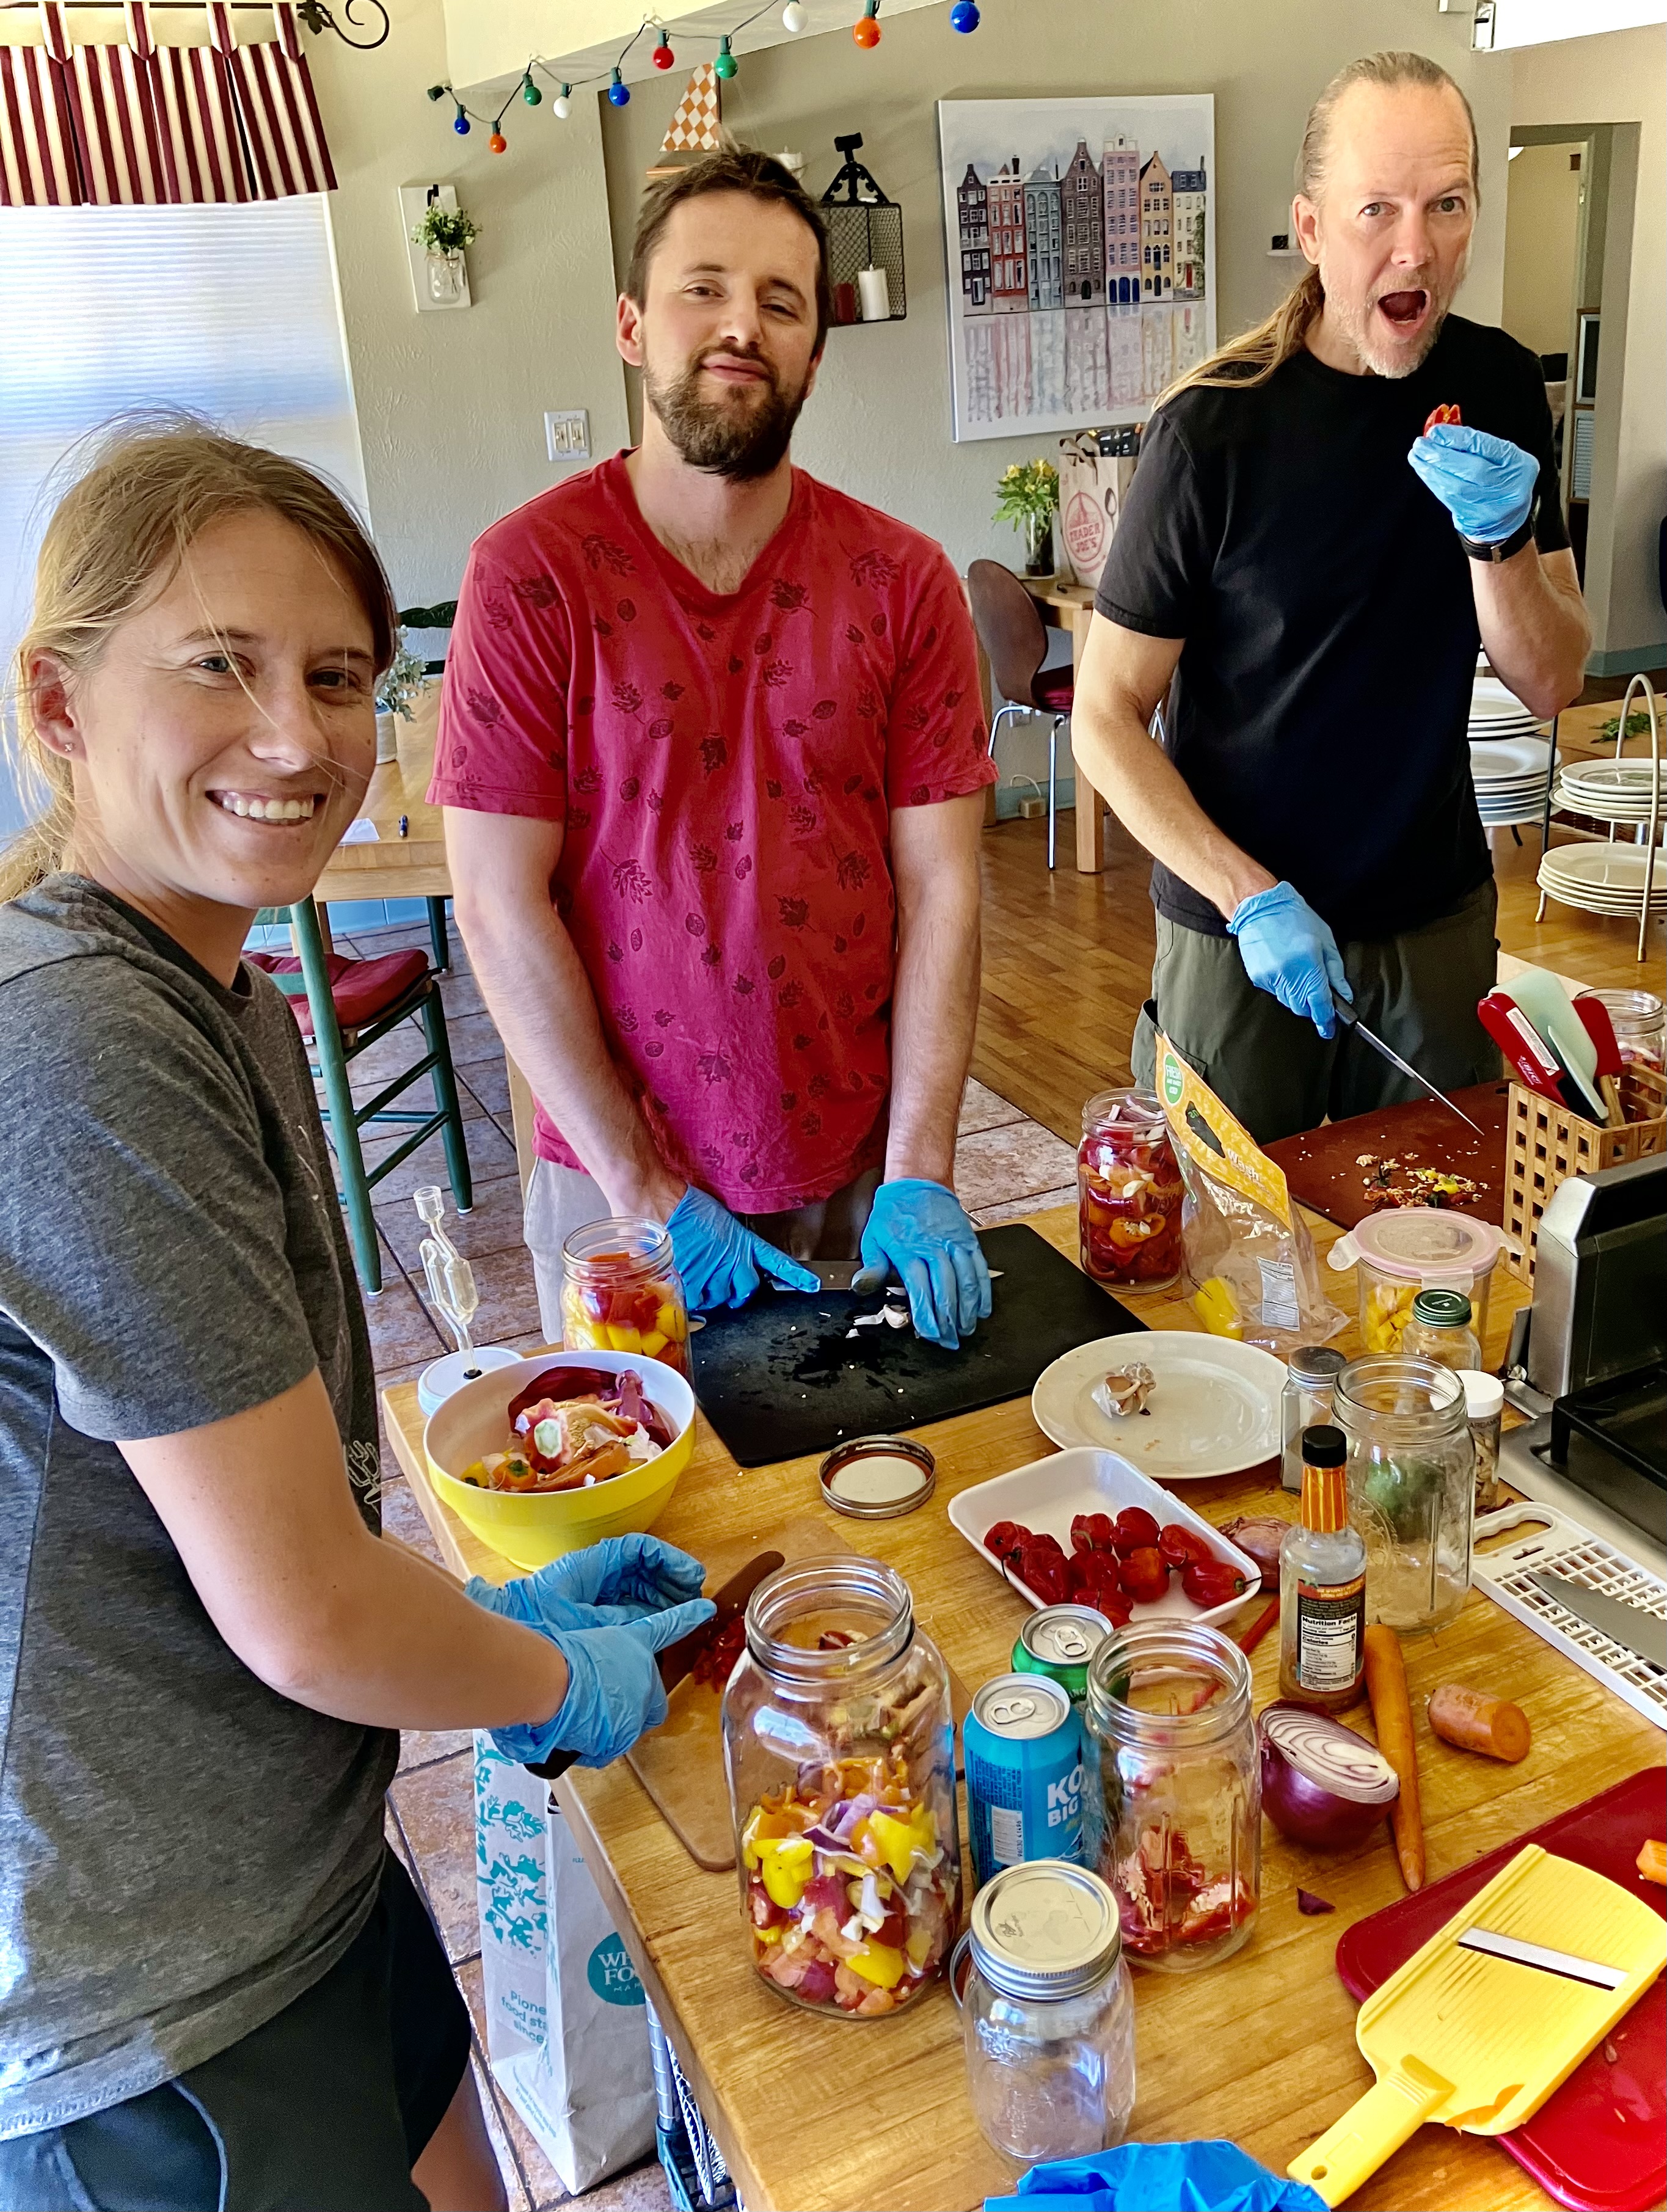
Mother Batch is Center Bottle Workshop with Shelby, Charlie, and Mark:
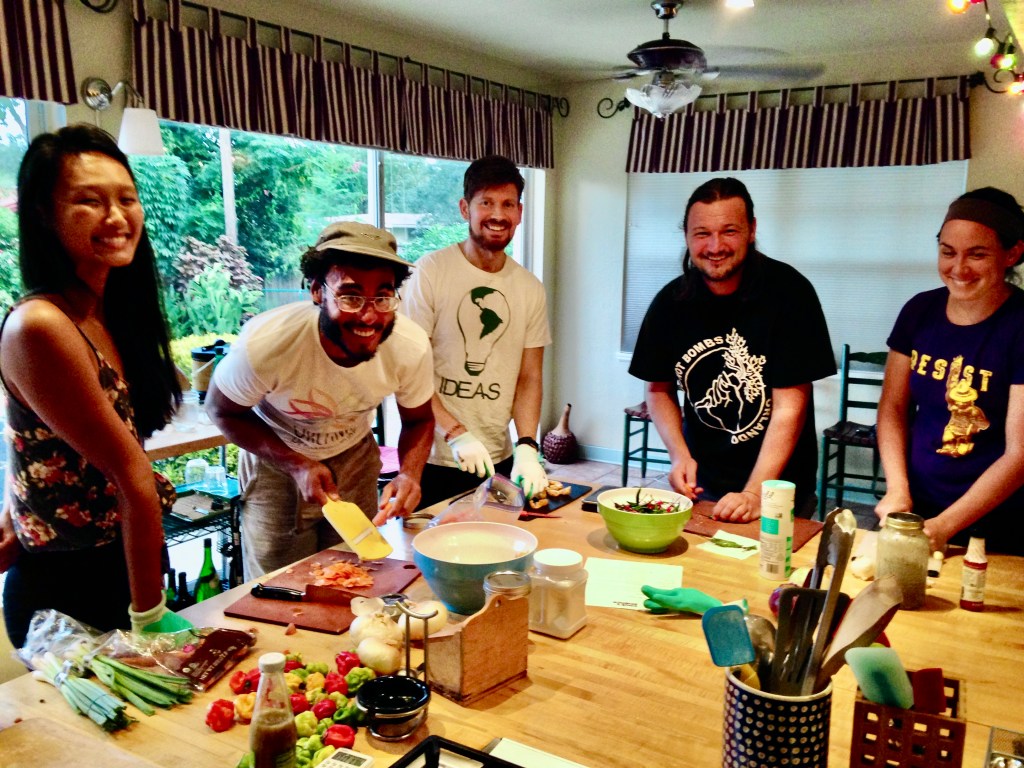
Another happy hot sauce workshop!
© 2024 Bill Hettig

Hot stuff!! BUT…If you notice mole forming, skim and add more vinegar….if I see a mole in this sauce, I’m calling an exterminator.
LikeLike
My competitor installed a mole within my webpages. You are caught, oh Editor, my Editor!
LikeLike